Since I built my home server back in 2012, I’ve had a FreeNAS virtual machine running on it as the file server of my home network. For the past two years, I’ve been using it for the simplest of tasks (serving files). But over the past week, I’ve started looking deeper at some of the cool things FreeNAS and ZFS can do. The descriptions of each of these are going to be brief; they can probably be expanded to a full blog post, which I may do if I have time. However, until then, if your interest has been piqued, you will have to do some additional research on your own.

First, let me briefly introduce what FreeNAS is. FreeNAS is a system based on FreeBSD that primarily provides a network-attached storage (NAS) service for your network. It uses the ZFS file system, which as you’ll see in a bit has quite a number of interesting features. FreeNAS comes with a web interface where you can easily configure everything.
So with that introduction out of the way, let’s get into FreeNAS and ZFS!
CIFS, AFP, and NFS
In English, FreeNAS supports file sharing with Windows, Mac, and *nix computers. That was a pro for me because I have all flavours of operating systems on my computers at home.
The support for AFP (Apple Filing Protocol) includes Time Machine endpoints, which is something worth discussing in its own section below.
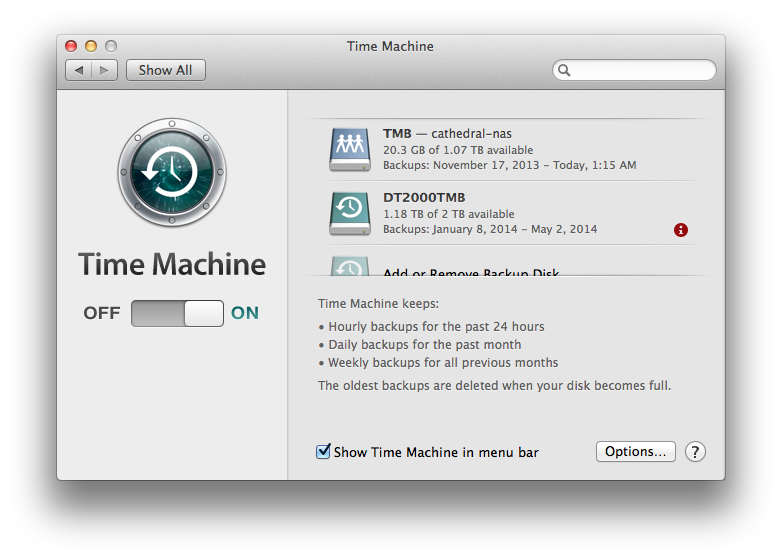
Networked Time Machine backups
It’s easy to setup Time Machine on your Mac using an external hard drive. However, unless you actually plug the drive in, there’s no backup opportunity. For me, sometimes I use my computer in my living room, other times in my bedroom. Sometimes my backup drive isn’t where I am working and I’m too lazy to go get it. There must be a better solution.
If you’re willing to spend a couple hundred dollars for an AirPort Time Capsule, it will allow you to make backups over the network, even over Wi-Fi. I actually bought one to try, but I returned it within a week because what it did really didn’t justify the cost.
Fortunately, FreeNAS has the option of enabling Time Machine endpoint functionality on AFP shares. Now, whenever I’m at home within Wi-Fi range, my Mac will automatically make Time Machine backups. Hands-free backups! Awesome! And with multiple Time Machine targets in OS X Mountain Lion, I’m able to have a backup to the NAS as well as a backup to an external drive whenever I get that plugged in.
One note is that networked backups are somewhat more finicky. The backup target gets corrupted more often than the one on the external drive. However, I’ve noticed using OS X Mavericks and the latest FreeNAS builds that generally it is a lot more stable than when I first configured it. Mostly, remembering to stop any current backups before turning off the computer will reduce the chance of corruption.
For more information about this, check out the following links:
- FreeNAS documentation on AFP shares
- A setup tutorial by Kevin Hanson
- A simpler guide on Blizzard of Pause
Snapshots and replication
Now let’s talk about some of the features of ZFS, which FreeNAS nicely gives us access to through the web configuration.
At some point in time you may want to ensure that your data on the NAS is backed up at a remote location (because even the most complex RAID setups won’t save you in the case of a fire or flood). This is where snapshots and replication comes into play.
ZFS snapshots are light weight and only store changed blocks. This means that they are fast (don’t require downtime) and don’t take up much extra space on the disk. Then, snapshots can be sent to another host with a ZFS volume over SSH.
FreeNAS’s web interface makes setting up automatic snapshots and replication very easy. In addition, the replication target is quite flexible because all that is required is a host that has ZFS and SSH. That means, it’s not necessary to be locked in to using a FreeNAS system as a replication target. In fact, using packages from ZFS on Linux, most 64-bit Linux distributions can be used as replication targets. I went with Debian as that was the easiest to setup for my particular case.
For more information about this, check out the following links:
- Arstechnica’s article about setting up ZFS on Linux
- ZFS on Linux FAQ
- FreeNAS documentation on snapshots and replication
FreeNAS plugins
I came across the plugins last week when I was diving a bit deeper into FreeNAS. I haven’t explored this fully yet.
FreeNAS is primarily a file server. However, as it’s a computer that’s almost always running, it makes sense to have other services run off of it so that a separate application server isn’t necessary. This is where plugins come in.
The list of plugins is available on the FreeNAS wiki. There is also an article on installing the plugins.
The plugins that I’m interested in are btsync (BitTorrent Sync), owncloud, and the media plugins. Right now, I have a separate virtual machine that serves these applications while storing the data on the NAS. Using plugins, this extra virtual machine may not be necessary!
Final comments
If you take a look at Wikipedia article on ZFS, there are a lot of interesting features in ZFS. It supports its own type of software RAID to protect against drive failures. It’s possible to encrypt and compress data sets as well. This is just scratching the surface on what ZFS can do.
ZFS is a robust, reliable, and practical file system to be used as network-attached storage. Combined with the web interface provided by FreeNAS, this functionality is able to be unleashed for usage in diverse environments.
Are you using FreeNAS or ZFS in an interesting configuration? Have other tips for other users? Post your ideas in the comments!